Installing on Windows#
The OpenQuake Engine can be installed on Windows with the universal installer script (recommended if you plan to develop GMPEs) or with a traditional .exe installer which can be downloaded from https://downloads.openquake.org/pkgs/windows/oq-engine/. The .exe installer includes Python 3.11 and all required dependencies and (since version 3.19) does not require Windows administrator privileges.
Requirements#
Requirements are:
Windows 10 or 11 (64bit)
at least 16 GB of RAM (32GB recommended for Windows 11)
4 GB of free disk space
Windows 7 and Windows 8 are not supported.
We recommend using a Linux server for large calculations such as national or regional-scale models.
Installation Procedure#
Download the installer from https://downloads.openquake.org/pkgs/windows/oq-engine/ Double-click on the installer to start the installation. You will probably be presented with a popup message similar to the one shown below:
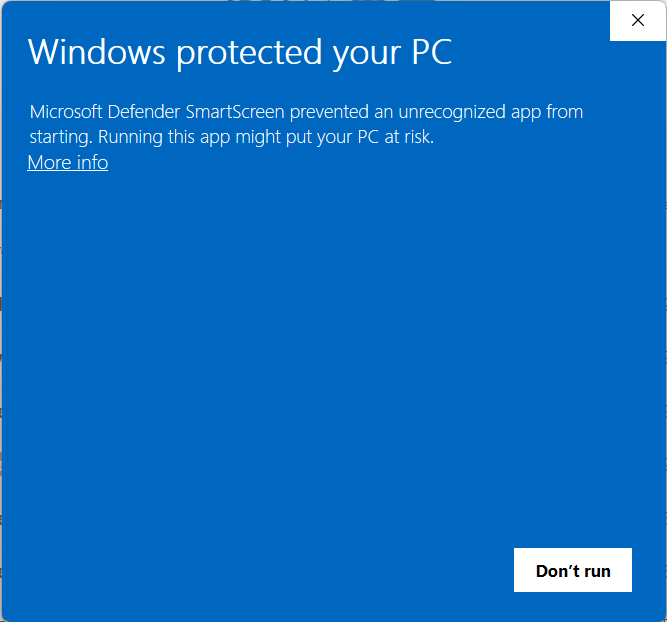
Click on the “More info” link inside the popup:

Check that the App string starts with “OpenQuake_Engine” and ends with the desired version number. If all is in order, click on the “Run anyway” button to continue. You will be presented with an installer dialog similar to the one depicted below:
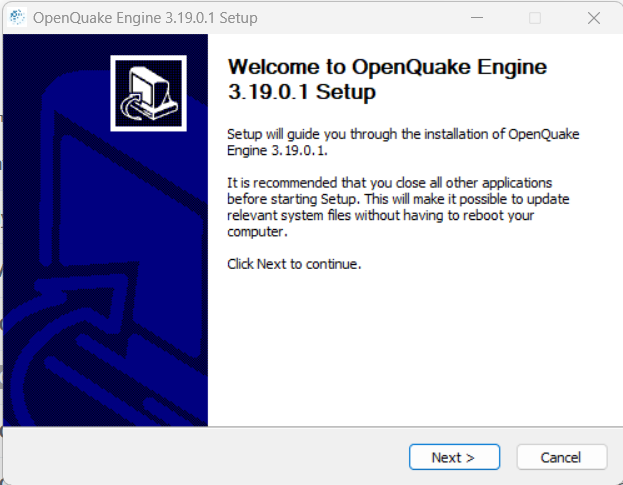
Press the “Next” button.
The AGPL v3 license terms will be displayed - you must accept these terms in order to install the OpenQuake engine:
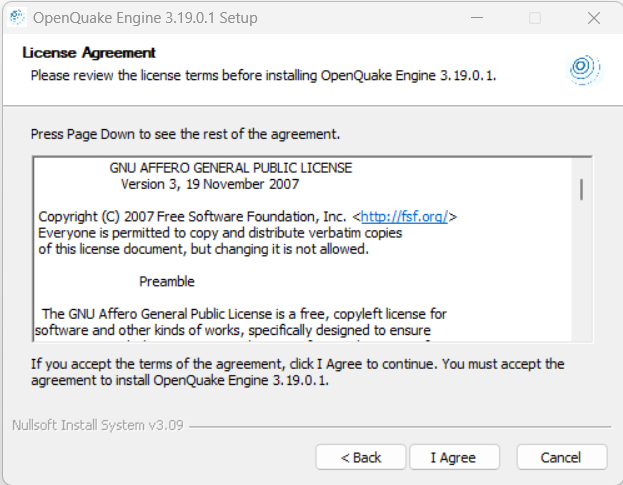
Press the “I Agree” button.
Uninstall Previously installed versions#
If you have already installed a version of the OpenQuake Engine via the Windows installer, you will be presented with a message similar to the one depicted below: Already installed
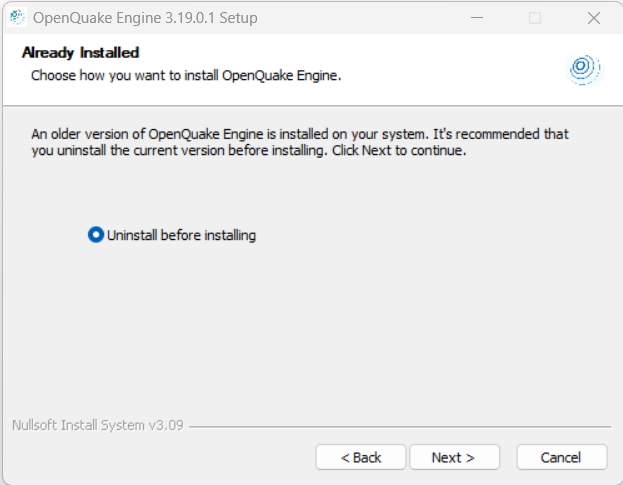
IMPORTANT even if you have installed the OpenQuake engine via the universal installer, git or some other means, you must ensure that no OpenQuake engine processes are running, that you do not have the User Manual PDF or demo files open before proceeding. If any OpenQuake processes are running or files are open, the installation may not complete successfully.
If you do not have a previous installation of the OpenQuake Engine installed, you can skip ahead to Install OpenQuake Engine Components
Press Next to continue. You will be presented with a reminder message:
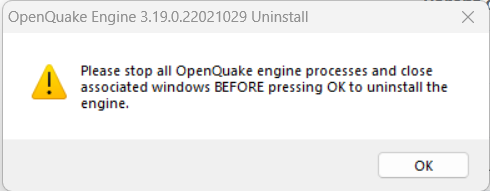
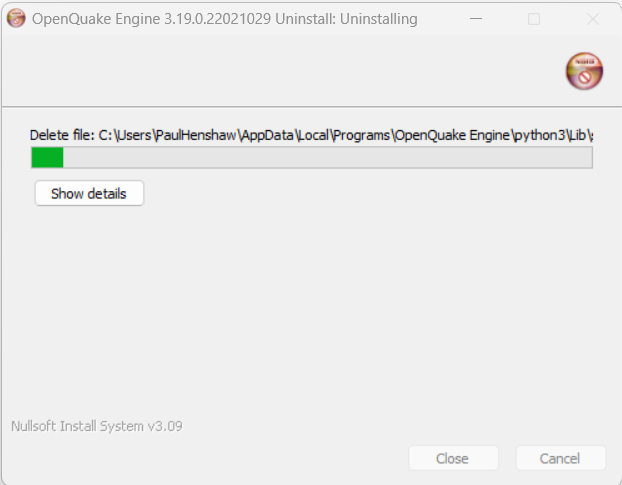
Once you have stopped any running OpenQuake Engine processes and closed all associated files, press OK to continue. The uninstaller will now remove the previous OpenQuake engine installation. This may take some time to complete:
Once finished, the uninstaller will look like this:
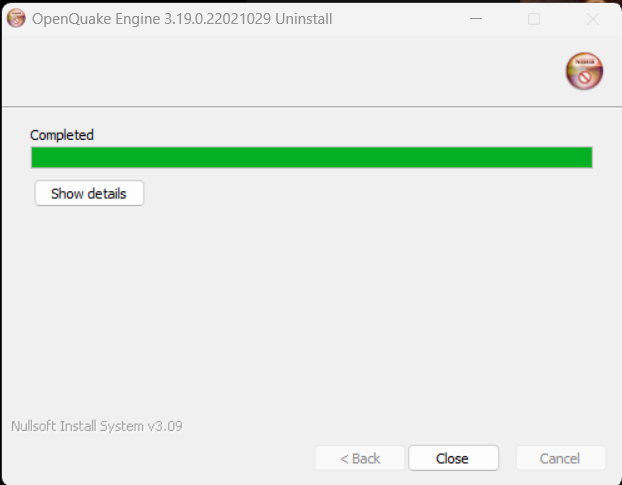
Press the “Close” button to close the uninstaller.
Install OpenQuake Engine Components#
We are now ready to install the OpenQuake engine components:
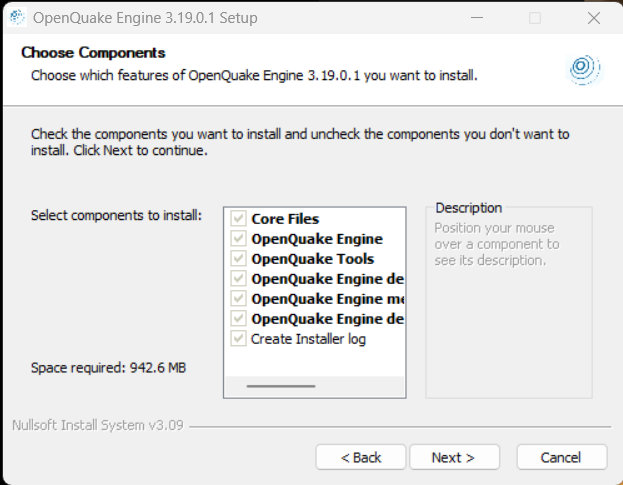
Press the “Next” button to continue
It will now be possible to view and if necessary change the installation location of the OpenQuake Engine. We recommend using the default value unless you have a compelling reason to use something else - please note that changing the installation location may make it more difficult to provide support.
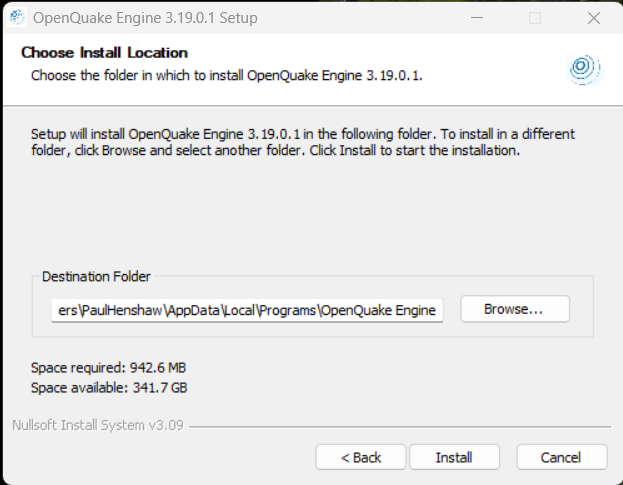
Press the “Install” button to continue.
The installer will now execute. This may take some time to complete.
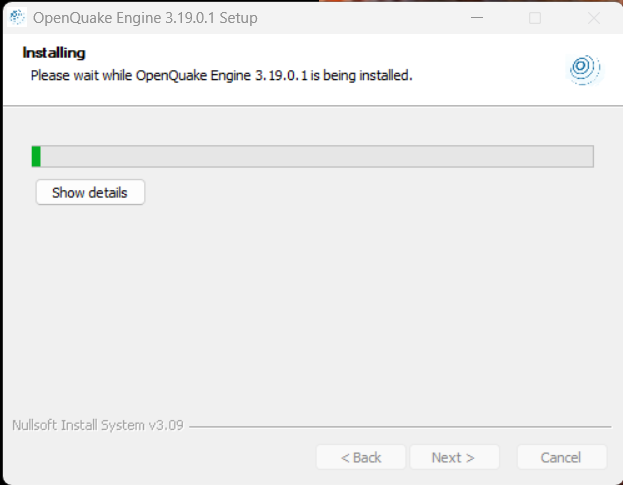
Once the installer has completed. It will look something like this:
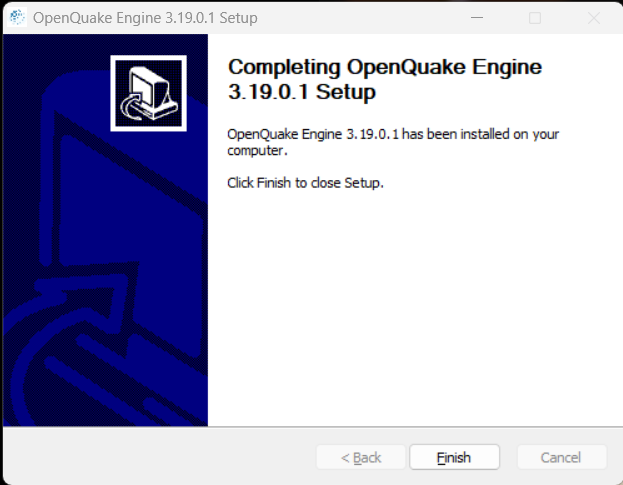
Press Finish to close the installer. You should now see two OpenQuake Engine icons on your Windows desktop:
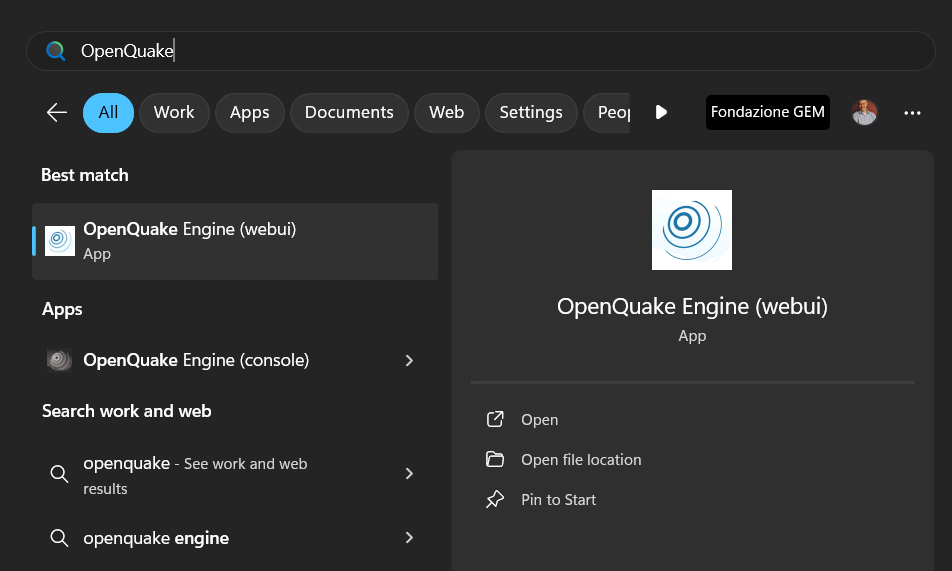
It should also be possible to find the OpenQuake Engine by pressing the Windows key and typing “OpenQuake”:
Double-click the webui icon to start the OpenQuake Engine web user-interface. The first time the OpenQuake engine is executed, the initialization process may take several minutes to complete:

Once the webui is ready for use, a web browser tab will be opened:
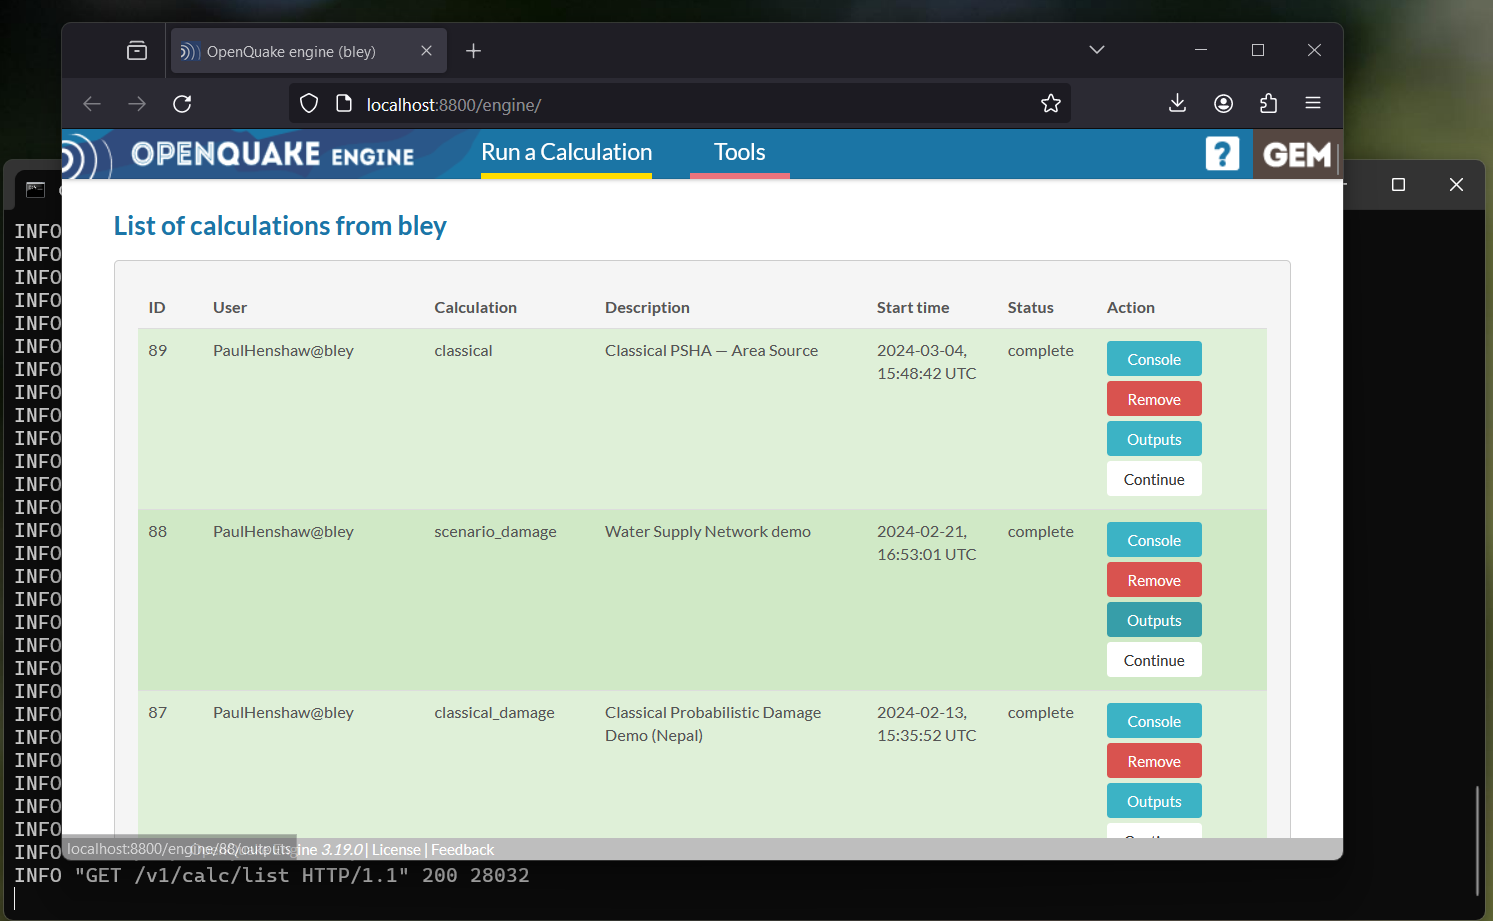
Please refer to the Web user-interface instructions for more information about using the web-ui.
Getting help#
If you need help or have questions/comments/feedback for us, please subscribe to the OpenQuake users mailing list